
Creating and styling your Pardot forms is one thing, but as a WordPress user, how do you get those forms integrated into your website in a way that both works and looks good?
Here are some methods for making it happen:
1. The Embed Code
Option number one involves taking the iframe embed code Pardot supplies, copying that code and putting it on a page or post. The form code can be found by clicking on the down arrow in the top right corner of your form and selecting ‘View HTML code’.
A page that looks like this will appear and display your code:
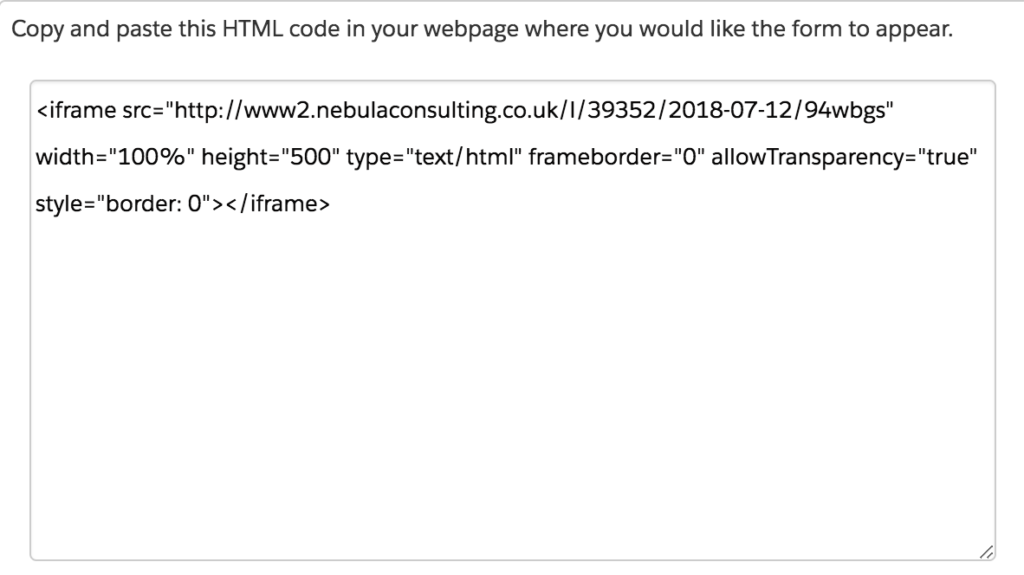
You can then adjust the height of the form and general iframe styling.
This is by far the simplest method, but some WordPress users find this doesn’t work the way they want it to. Therefore, I’d recommend giving it a go before you move onto anything else, because if it does work, it will save you time.
2. The WordPress Plugin
Option number 2 is installing and configuring the Pardot WordPress plugin. It’s secure, and will connect you to your Pardot Instance from within your WordPress account.
This method is preferred by a lot of users as it doesn’t involve you having to mess with any code at all. Here are the steps you will need to follow:
- Install and activate the plugin. This will create a new item in the menu under ‘Settings > Pardot’
- Enter your Pardot credentials along with your user key, which is found under the ‘My User Information’ section of your Pardot Account Settings
You will now be able to insert Pardot forms within widgets, pages and posts using your new Pardot icon in the WYSIWYG editor. It looks like this:


3. The Shortcoder Plugin
The third option is another plugin called the ‘Shortcoder Plugin‘. It’s also pretty useful, however the downside is that it doesn’t give you as many features as using the Pardot WordPress plugin, as it doesn’t connect directly with your Pardot account. This means it won’t pull in all the forms in your account.
The main reason you would use Shortcoder is because it has uses other than forms, subsequently making it a good option if you are trying to limit the number of installed WordPress plugins. Here are the steps:
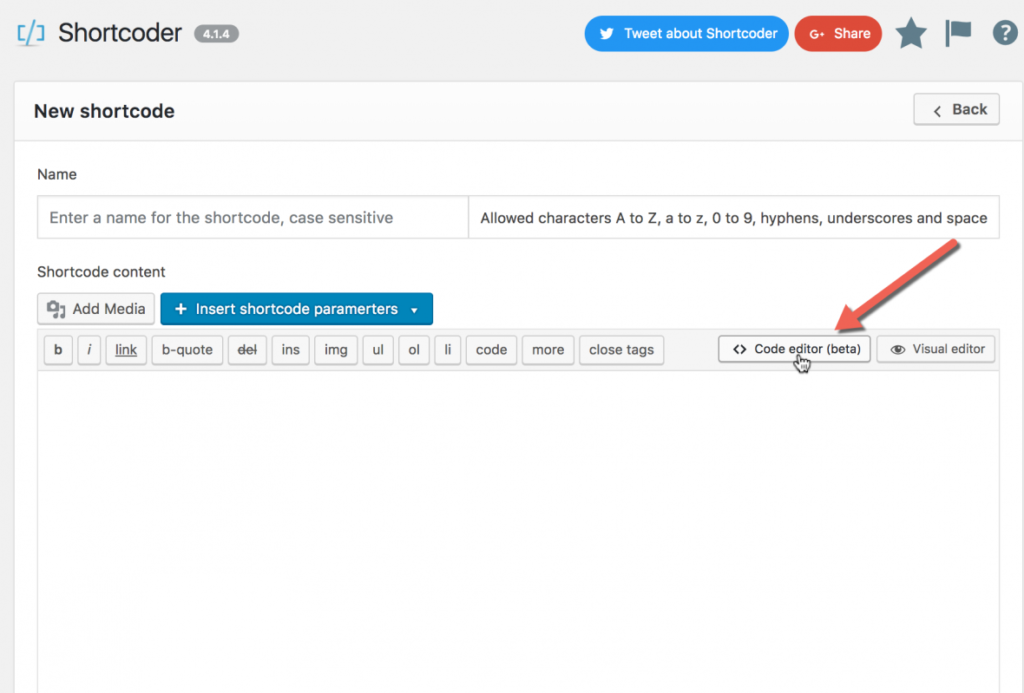
- Install and activate the plugin. This will create a new item in the menu under ‘Settings > Shortcoder’
- Create a new short code and give it a name that makes sense to you. Ensure that you select the ‘code editor’ option when doing this
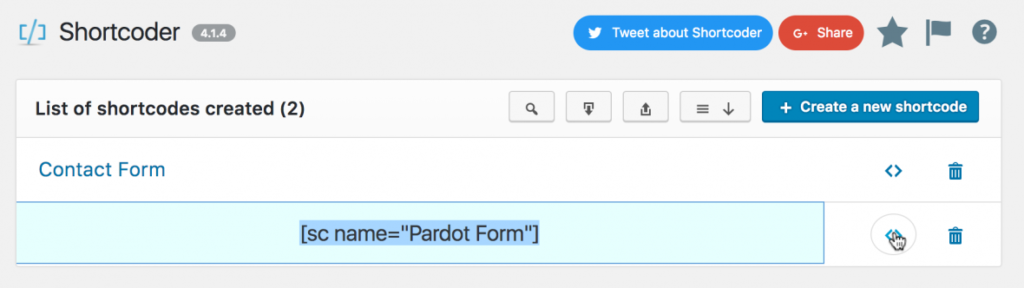
- Copy and paste your Pardot form code (the same code we saw in the embed code section earlier)
- Once you’ve pasted it in, you will be able to use your shortcode on any widget, post or page in WordPress using the ‘sc name’ tag:
4. The Popup Builder Plugin
If you want your forms to pop up on your website, use this plugin. This method is ideal if you gate a lot of assets on your website. It works like this:
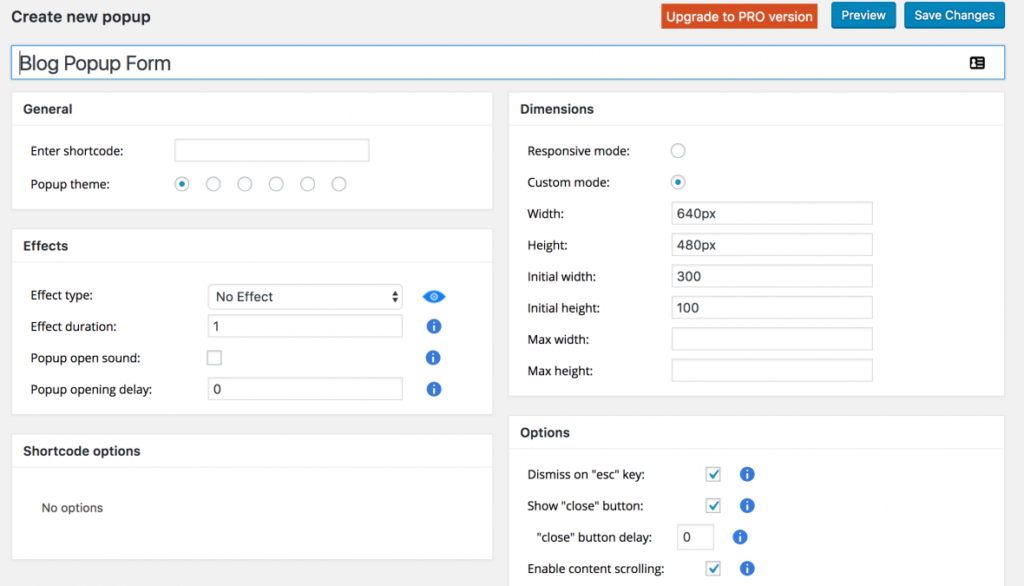
- Install and activate the plugin. This will create a new navigation item called ‘Popup Builder’
- Once installed, you’ll need to create a new popup and select the type
- If you want to paste your iframe code in, set the type to HTML
- If you want to use this plugin in conjunction with another plugin, set the type to ‘shortcode’
- Configure the pop up to your specifications
If you need help getting up and running with any of these methods, get in touch with us. If you’re a super Pardot WordPress whizz and have got another way of doing it, let me know.