An important part of any database management is to honour the email preferences that have been requested by your prospects.
This includes being able to unsubscribe them quickly and easily from all email communications upon request and adhere to their specific preferences on which particular communications they want to receive from you or not.
The main benefit of building an email preference center rather than just offering a one-click unsubscribe to your prospects is to offer them a chance to select the email communications they would like to receive in order to retain some level of opt-in. It works particularly well if you send regular email communications that are easily defined by type. For example, you may send a weekly newsletter, a monthly industry update, event/webinar invitations or content-led emails based on specific topics.
How can you create your own email preference center?
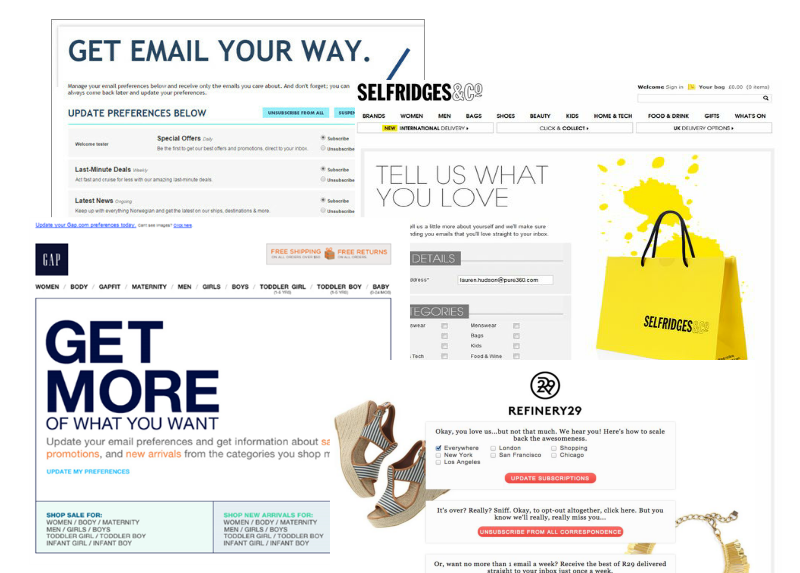
Creating a good email preference center is important for prospect engagement and retention. Retailers are particularly good at customising them to their audience by being sympathetic to their request to unsubscribe and encouraging them to remain opted in:
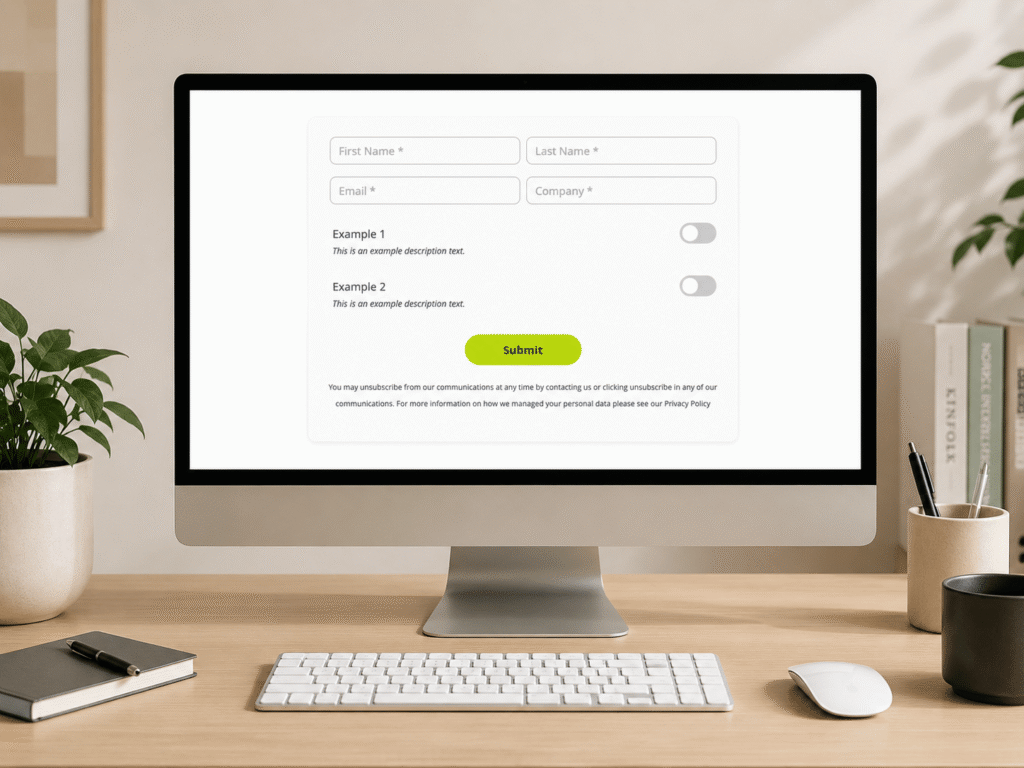
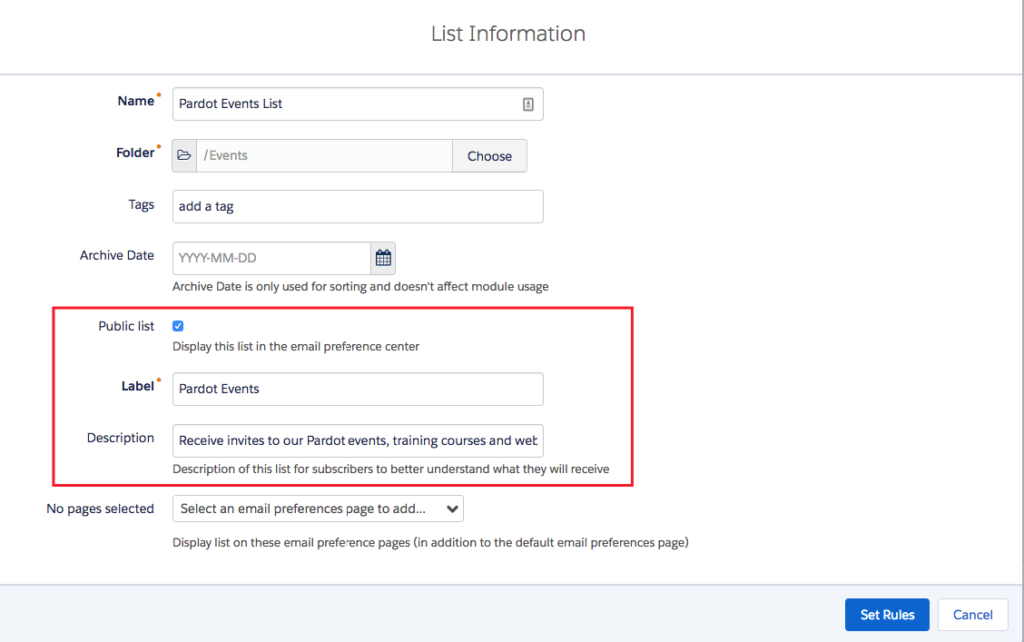
You can also customise your own email preference center in Pardot. The first step is to define which types of email communication you regularly send and create public lists to match – these are the lists that will appear on your email preference center for prospects to opt themselves in or out of. You can select a user-friendly label and description which can tell your prospects what they should expect to receive, how often and why they should remain opted in!
The second step is to enlist the help of your web design team to create a Layout Template design for your page. The Layout Template will define the look and feel of your page so it can be branded with your logo and match the overall design of your site.
Finally, you can edit the text displayed on your email preferences page and confirmation messages to make it more appealing. Navigate to Marketing > Email > Preferences page to customise the page title, first paragraph and submit button text.
Sending to the right prospects in your database
Once you get your email preference center up and running, you will start to receive those all important preferences from your prospects and so the final thing to consider is to ensure that you are honouring those requests. Here are the steps to follow to map across existing preferences and manage changes going forward:
- Add prospects that have explicitly opted-in to receive your emails to the relevant Public Lists
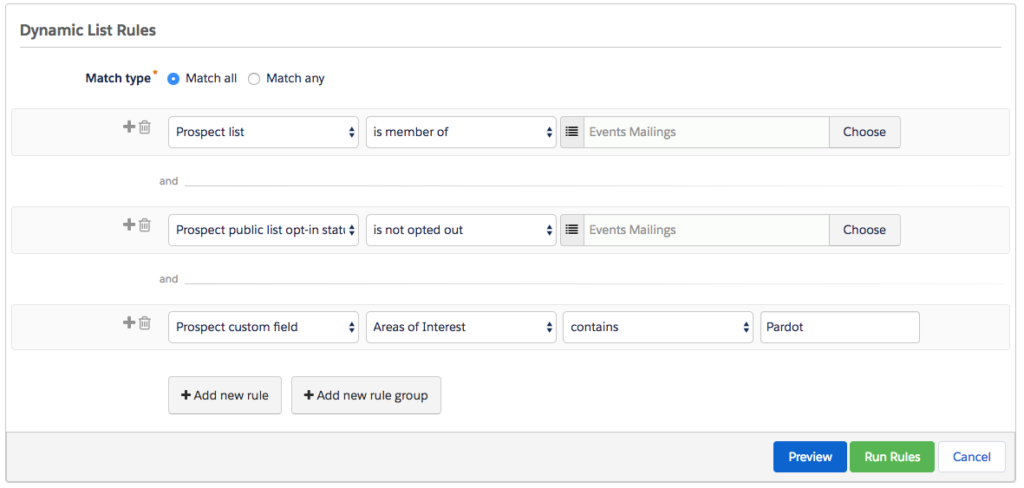
- Build your target mailing lists based on membership of your Public Lists, ensuring that you remove those that have opted out
- Further segment your lists if required i.e. create broad public list categories such as ‘Industry Newsletter’ and target your specific industries or sectors within your list build