If you’ve just started using Pardot, one of the things you will notice is that, unlike many other email marketing platforms, there is no drag and drop template editor. But there is an idea for this floating around the community, which you can vote for here.
In the meantime however, I’m going to run you through how Pardot Templates work, and give you some tips and resources for making them look great.
Building an email template
Pardot Templates are all built using custom code. There are a few ways you can approach building your template:
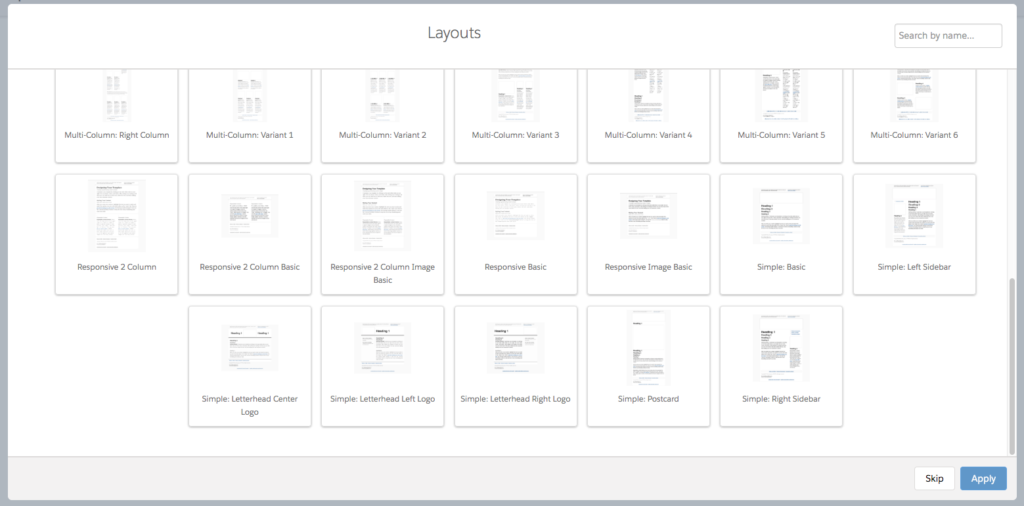
1. Use one of Pardot’s pre-built templates
Personally, I’m not a huge fan of the selection, but it’s a starting point. When you start to create a new template in Pardot, it will automatically give you the option of applying one of the pre-built Pardot templates, which you can either apply or skip:
2. Use in-house development resource or consultancies / agencies to build them for you.
If you’re lucky enough to have in-house front end developers who can build templates for you, then it’s worth flagging the points below around Pardot regions, as this may be different to other templates they have built before. If you go down the external resource route, make sure you choose a partner who has experience building templates specifically for Pardot. (Need one built? Contact us here).
3. Try it yourself!
Feeling adventurous or already have coding experience? You can built your template yourself in Pardot or in a tool such as Adobe Dreamweaver, and then paste your code into Pardot. If it’s your first time coding an email, Litmus have a great community learning post that teaches you how to code a basic responsive email from scratch.
Tips
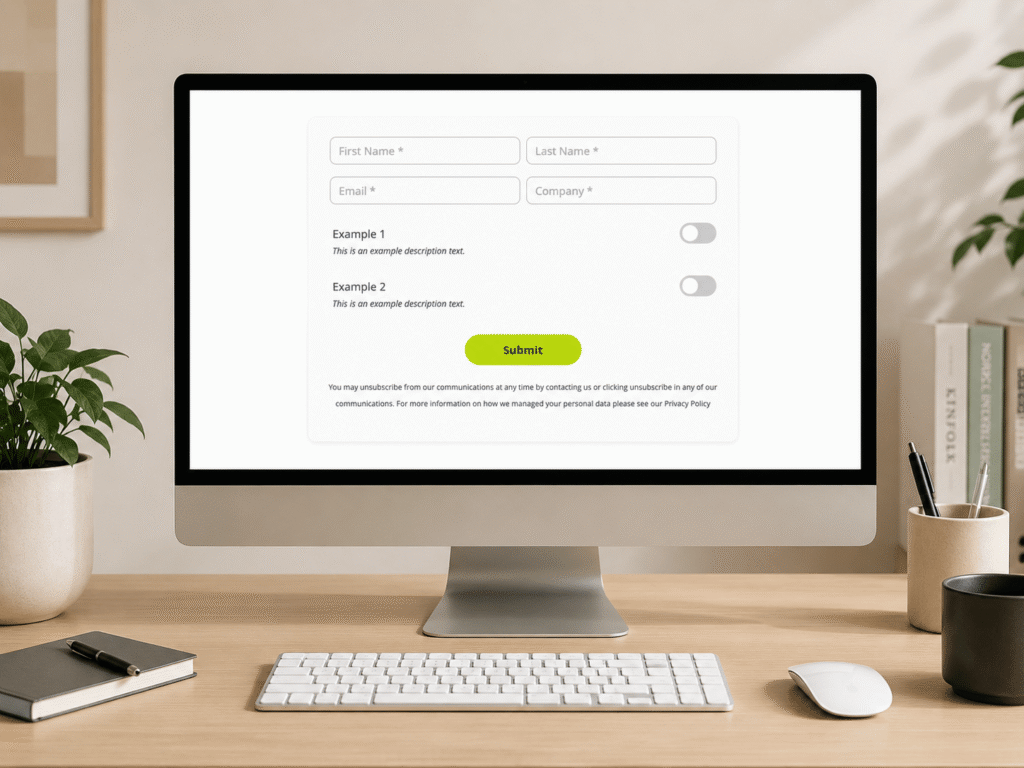
- Make sure you build out different template types…and that you understand what they are for. In Pardot you have 4 to choose from; Autoresponder, One-to-One, Engagement Studio / Drip Program, List email.
- Think about the types of content you will want to use for each template, and build the template so it includes those options. Popular options are:
- Image block
- Image with text underneath and CTA
- Text left, image right with CTA (and vica versa)
- Three columns with images, text and CTA
- Two columns with images, text and CTA
- Ensure your template has an unsubscribe and view in browser tag included.
Making your template editable
Now you’ve got the base of your template coded, you will need to make sure anyone using your template can actually edit it. In Pardot, this is done through ‘Pardot Regions’. Pardot Regions allow you to control which email content users can change. For example, you may not want your users to be able to edit the header and footer of your emails; to ensure they stay on brand. However, you would likely want them to be able to edit the main body of the email.
Making content editable
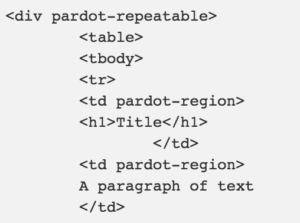
To allow an element, and the elements that it contains, editable, add ‘pardot-region’. Each editable section of your template must contain the pardot-region attribute. For example, <td pardot-region> makes the td element and the other elements that it contains editable.
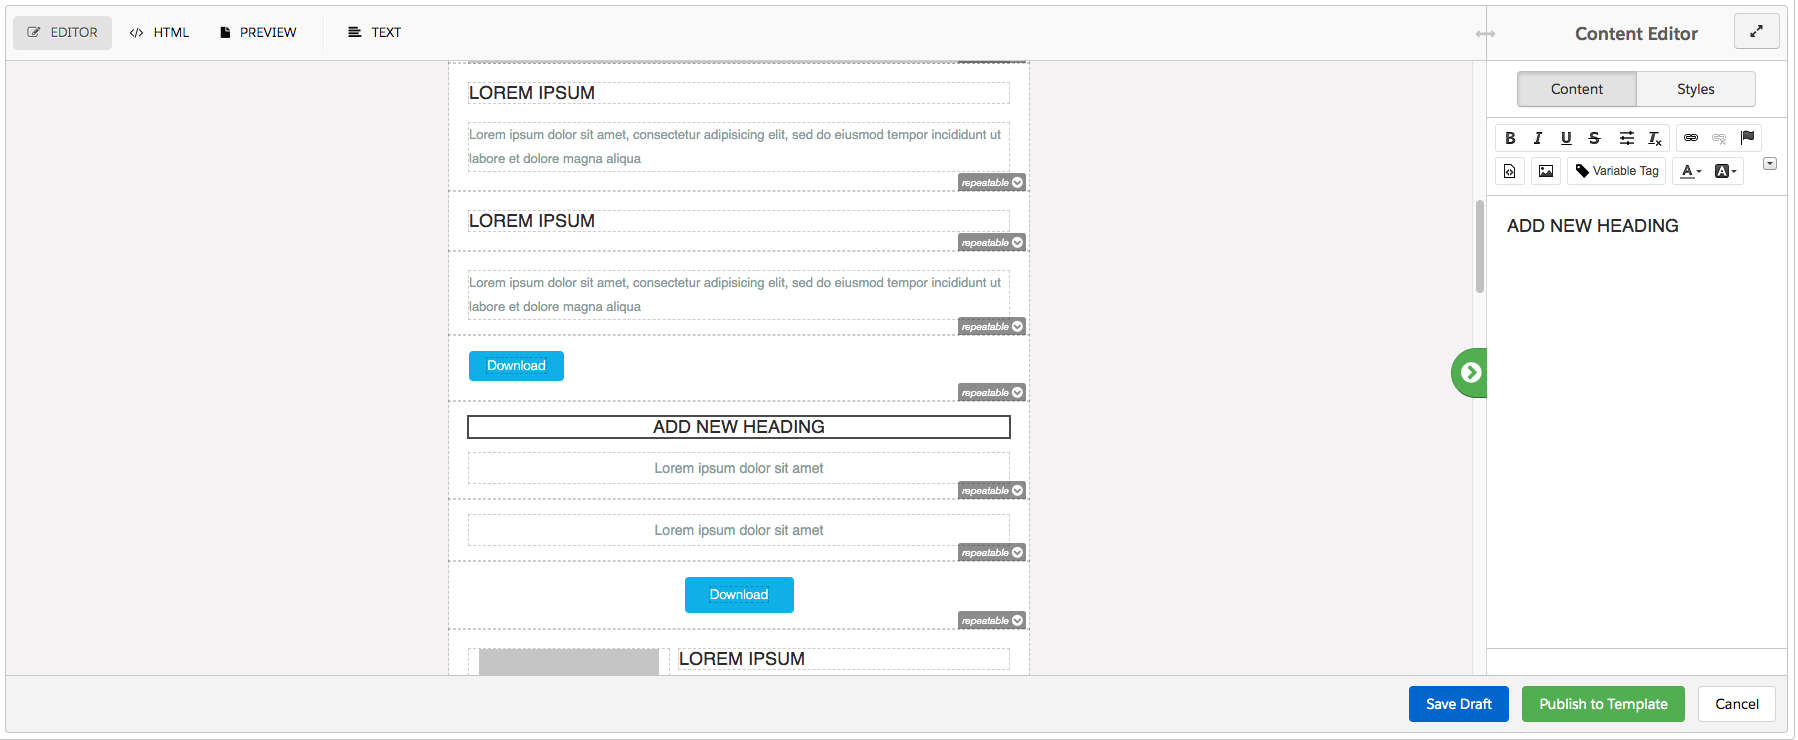
Making content repeatable
Repeatable elements are useful if you want to let your users copy content, for example in an email newsletter with multiple sections. If you want to make an element repeatable, add ‘pardot-repeatable’. Content inside an element with the ‘pardot-repeatable’ attribute must have the ‘pardot-region’ attribute. In the email editor, any region with the ‘pardot-repeatable’ attribute has a dropdown menu that lets you duplicate, move, or delete the element:

Here’s an example of what that might look like:
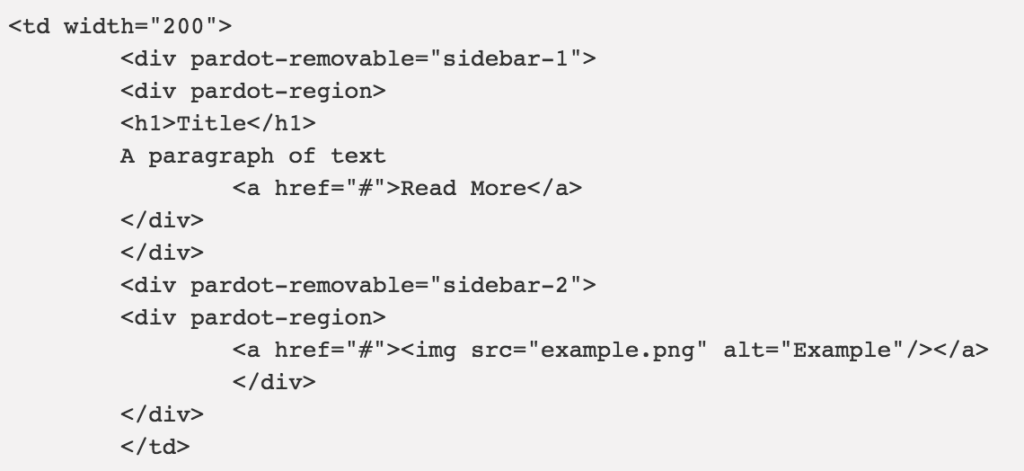
Making content removable
If you want to let your users remove an element from an email, add the ‘pardot-removable’ attribute This attribute is similar to ‘pardot-repeatable’, except these elements can only be removed, not added. This is really useful if you’ve got a multi-functional template which allows users to utilise it for different types of communications. Here’s an example of what that could look like:
Adding in a pre-header
Having a pre-header allows you to customise the text within the preview on Gmail / mobile. You add it to your Pardot template code like this:
<p style=”margin:0;padding:0;”><span class=”preheader” style=”display: none !important; visibility: hidden; opacity: 0; color: transparent; height: 0; width: 0;”>Your preheader text here</span></p>
You’ll see this is slightly different to how you add the other tags, however it works in the editor in a very similar way.
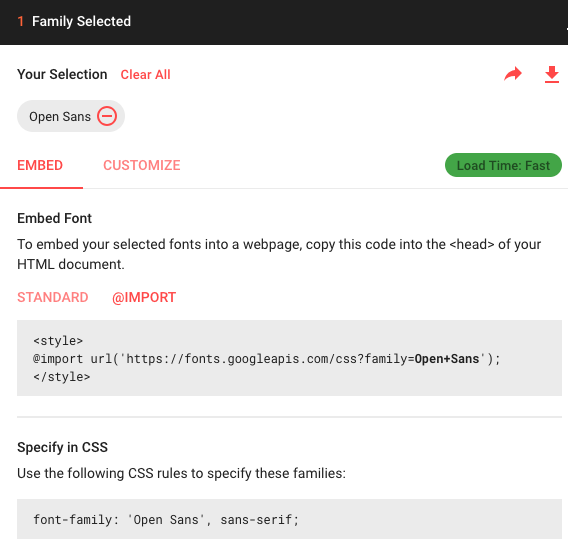
Custom fonts in Pardot Templates
You’ve got your template all sorted, but oh no, it doesn’t have your brand fonts in! Don’t worry, there are a couple of ways you can get custom fonts into your email template. The easiest method by far is to use a Google Font, which you can select from the Google Font Library. Be sure if you’re using a google font to use the ‘import’ method:
If you’re not using a Google Font, you can use this method to allow Pardot to access your font.
Other resources
Once your template is ready, you’ll need to publish it so users can access it. There are a couple of resources I’ve found really helpful on my template journey that may really benefit you, not just with initial template creation, but with creating email comms in general:
- If your plain text looks funky, try pasting your code into this HTML to text converter.
- Want to create a fabulous looking button that will work across all browsers? Check out this Bulletproof Pardot Button Generator.
- Having issues with background images? This might be because you’re using one of these versions of Outlook, but if not, then try this Bulletproof Background Image Generator.
- Want some resources to help with making your emails look awesome? Here they are.
- If you’re having alignment issues on iPhone, check out this quick fix.
- Here’s some tips on making your emails accessible.
- Should all this be a bit much, you can always check out ‘BEE Free‘ – a free drag and drop creation tool.
If you’ve conquered the world of Pardot emails, then why not check out our tips for optimising your Pardot landing page editor.
Happy building!