Are you just as excited about the latest Drag and Drop Landing Page Editor as we are? This feature is the perfect tool for anyone without prior coding experience. It really focuses on making the user experience as easy as possible. I’m going to break down my favourite features and take you through everything you need to know to get started.
What we absolutely love…
Set-Up
If you’ve already set up the Email Lightning builder, the Landing Page builder is available to you straight away. All you have to do is add it to your navigation bar in Pardot – no questions asked!
If you’re not already set up, you can read how to get started right here.
Drag and Drop
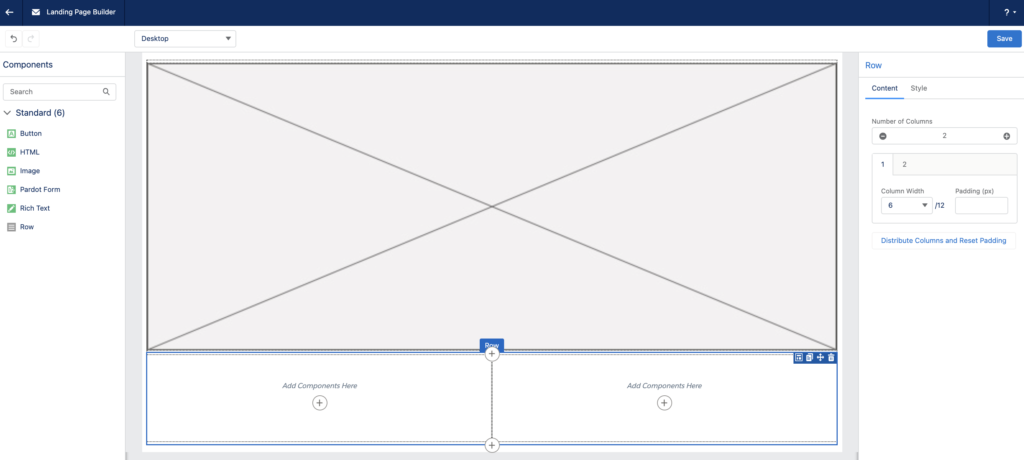
Similar to the Email Lightning builder, the Landing Page builder gives us the ability to pick multiple components from the sidebar menu. Drag and drop them wherever you like and style them accordingly. You can also easily use the ‘Row’ component to build tables by defining the number of columns you need and their width.

Easily Accessible
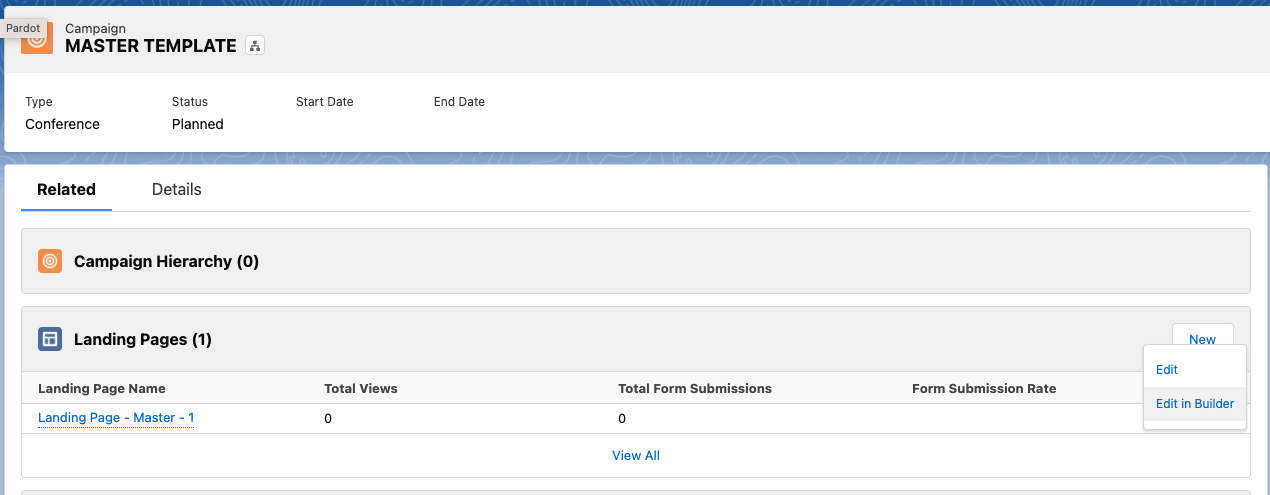
Access your landing pages created in the builder straight from the Campaign tab in Lightning.
Landing pages that are related to a campaign will appear on the related lists section of the campaign record. You can dive straight into the landing page using the dropdown to make edits, or create a new landing page at a click of a button!

Landing Page Statuses
With the Classic Landing Page Builder, you couldn’t decide when you could publish your landing page or keep it in a draft status if it was being worked on. The minute you hit ‘Confirm and Save’ your landing page was live. This however is not the case with the new builder. The landing page now has several statuses to help you and your team know which pages are published, actively being worked on, or are published but have changes pending.

You’ll also be able to see other details such as, when the landing page was published, who it was created by and the last modification date.
Stay on brand
Any landing page you create can be reused and cloned for others to use! There’s no need to create a new layout template first, instead use the saved templates to build your landing page.
Be aware of the following…
Pardot Forms
With the current landing page builder, your Pardot form will not inherit the styling on the related layout template and you are unable to independently style it on the landing page builder.
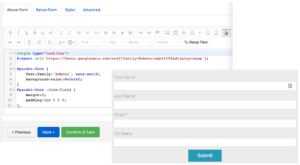
A way to work around this is to paste your form styling and classes in the ‘Above Form’ tab in the ‘Look and Feel’ step of the form set-up. This will pull in the styling of your form when added to the landing page builder.

You can also use the ‘Styles’ tab in the ‘Look and Feel’ step too if you don’t have any existing styling for your form.
Visibility
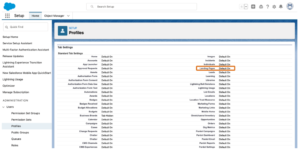
Don’t forget to add the Landing Page object to the Pardot Lightning App and provide visibility to the user profiles. Follow these steps:
- Navigate to Salesforce Setup > Apps > App Manager
- Navigate to the Pardot Lightning App and use the drop-down to “edit”
- Select “Navigation Items”
- Move “Landing Pages” from the Available Items list to the Selected Items.

If you’re looking to enable the Landing Page Builder, or get some guidance, feel free to get in touch with us so we can help you!


