First things first, when we’re talking about a queue in Account Engagement – what do we actually mean?
Well… queues are created and managed within Salesforce, however, it’s possible to add to Queues through Account Engagement. It’s a place where records without an owner can be placed whilst awaiting review, from those with access to the queue.
Why do you need this feature?
Queues are often used to review leads ahead of assignment, users with access to the relevant queue can go in and see the leads ready to be assigned. They can then review each lead and determine the priority or perhaps relevance depending on how your organisation is set up.
But how can queues be linked to Account Engagement, I hear you ask?
First, you’ll need to create your Queue in Salesforce and then link this to Account Engagement.
Here’s a step by step guide:
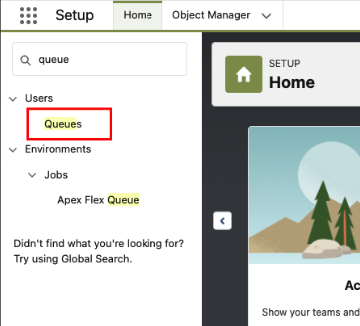
Step 1
Head over to Salesforce Setup and type ‘Queues’ into the quick find box.
Step 2
Next, click on the Queues option under Users. This is where you create and manage your Salesforce Queues.
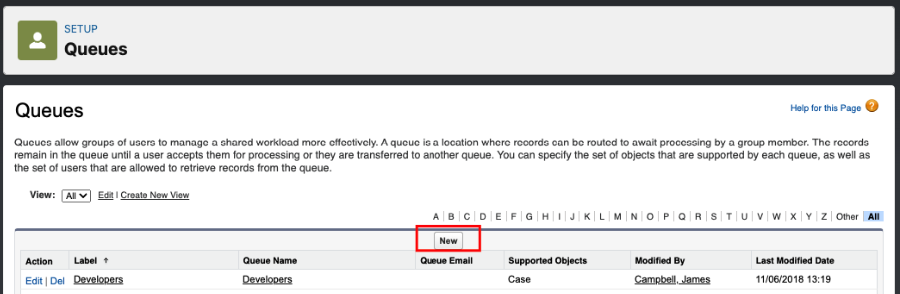
Step 3
To create a new Queue click on the ‘New’ button. If you’re reviewing or amending an existing Queue you will find it in the list below the ‘New’ button.
Step 4
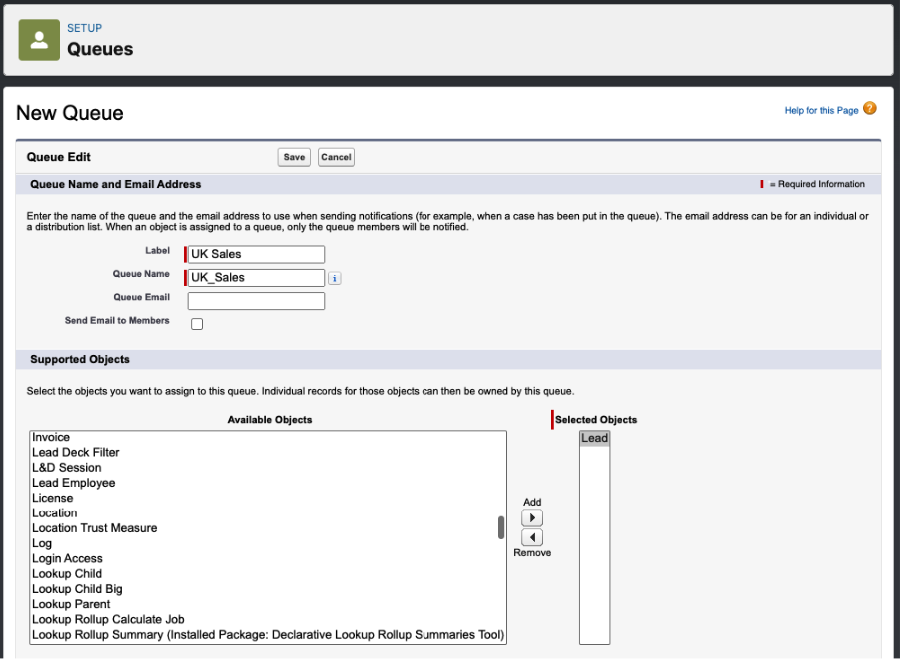
Fill in the required fields, being as clear and concise as possible. Once completed, you need to select which objects this Queue supports. To do this, click on the required object and click the > arrow to add to the selected objects section (as pictured below). For this example we’ll be looking at the Lead object, however, you can use queues for cases, contracts and any custom objects you may have.
Step 5
You then need to confirm which users have access and visibility of this Queue. This is done by selecting the required Available Members and clicking the > arrow to add these to the Selected Members section. Once done, click on the ‘Save’ button.
Step 6
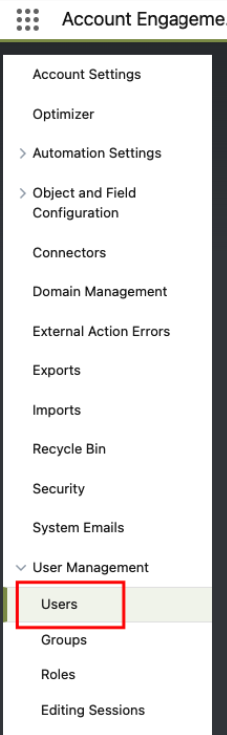
Once you have set your queue(s) up in Salesforce you’ll need to link them to Account Engagement. Navigate to Account Engagement Settings, User Management and then click on ‘Users’.
Step 7
You’ll then need to click into the ‘View Queues’ button on the top right hand side.

Step 8
You’ll then have the option to click into existing Queues or click ‘Add Queue’ to link the Queue you’ve just created in Salesforce using the previous steps.
Step 9
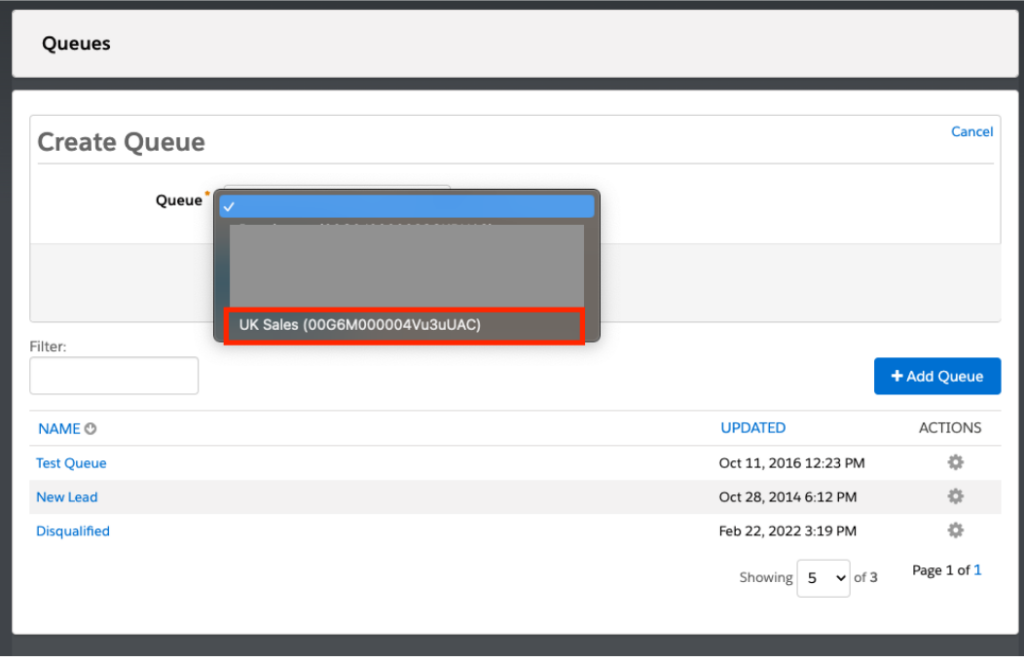
Next, you will see a drop down of all Queues in Salesforce that are not yet in Account Engagement, find the name of the queue you have just created and click ‘Create Queue’.
Step 10
This has now linked the Salesforce Queue with Account Engagement and can now be used.
How can I use these Queues?
Account Engagement marketing assets have completion actions. This will include an ‘add to salesforce queue’ option which is often used during the Lead Qualification Process.
However, there are things to consider here such as your MQL thresholds and whether or not there is an existing lead assignment process in place. Queues can be used alongside Lead Assignment Rules to capture any potential leads that fall through the net or if you have a complex lead routing process.
So.. thinking of using Queues?
They can be really handy to use, just keep in mind any existing MQL processes.
If you need any help, feel free to reach out to us – we’re more than happy to help.